For my carpentry project, I had to make the base of my platform. The things I need for this project are a miter joint, a half-lap joint a tape measure, a flat, a pen or pencil, some clamps, and safety goggles. Let’s start with the miter joint.
First things first, you measure your boards and mark how much wood needs to be taken off. The length of the boards should be 1’8 1/4, so I measure and mark off two inches for each piece of wood. Then, I go over the radical saw and take off two inches.
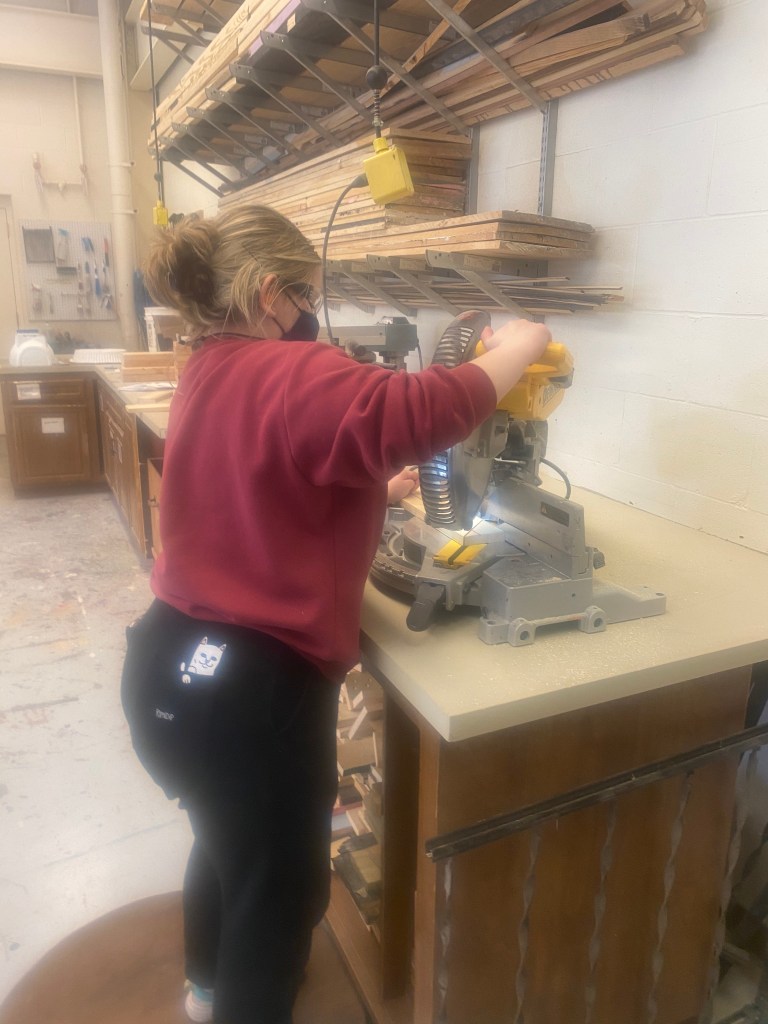
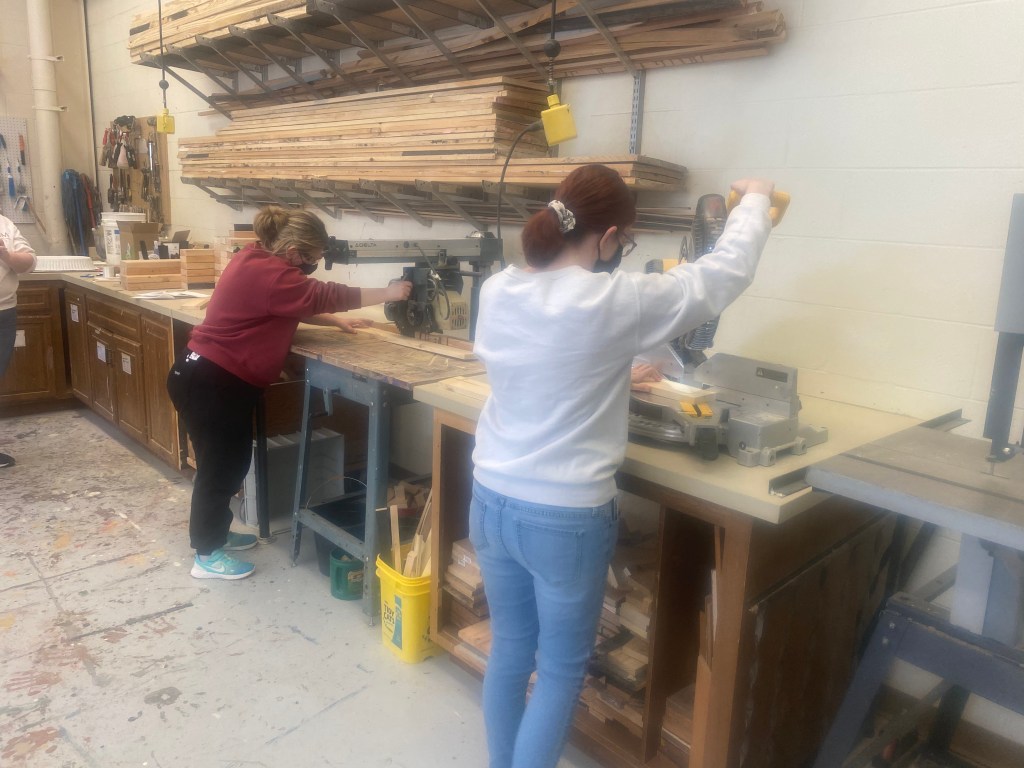
Then, I move over to the miter saw and cut my board at a 45 degree angle. Make sure the saw hits the corners exactly.
Next, use the tape measure or a square to mark the center of the board. This is where the joint will go.
Clamp the board to the table with the c-clamp with the angled end hanging off the edge. Make sure the clamp isn’t in the way, otherwise this next part may be difficult.
Next, use the biscuit joiner to cut a biscuit hole by lining up the center mark with the red mark on the joiner. This will make a hole for the biscuit to fit into.
Repeat the same five steps for the other board. I just did both at the same time because it was just so much easier and saved me a lot of time.
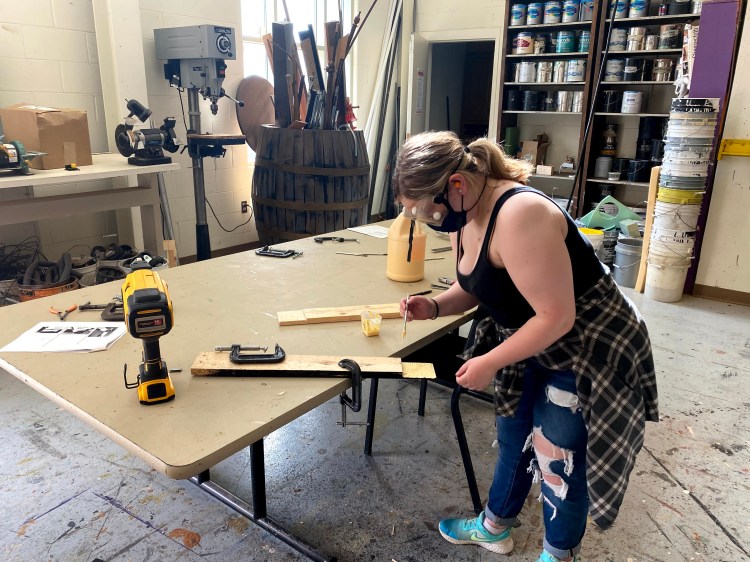
Next, apply glue in each hole and along the sides of each board. This to make sure they stay together. Then, place the biscuit in one side. Just take your pick. Once that’s done, put the two sides together and then clamp them with bar clamps to ensure that the joint is nice and tight.
I make sure that the sides of my boards stay even by clamping both sides at the same time. This is very difficult to do by yourself, so I recommend asking a partner for help. Before the glue dries, I wipe off any excess glue that may have leaked out of the sides.
After a day of drying, I unclamp my joint and make sure to clean everything.
Now that we have our miter joint, it’s time for the half-lap joint.
First, use the tape measure and measure 2′ on your board. Then, use the radical saw to cut off the excess wood. Draw a line on the first board the width of the second board from the edge. Repeat this for the second board.
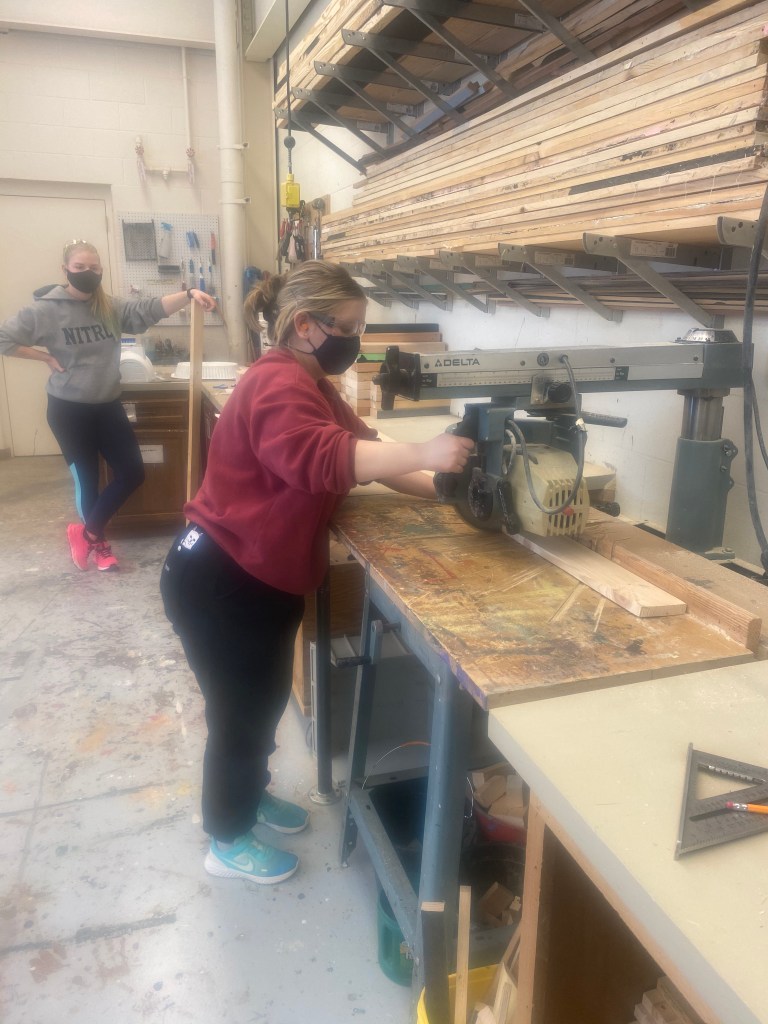
Then, use the radical saw again, but this time use the front arm to raise the radical arm saw blade to only cut through half the depth of the board. Hence, why we call this joint the half-lap.
Use the radical arm saw to cut grooves int the board starting with the line at the end. This step took me a couple tries because I kept messing up the cuts, or I didn’t do one of the previous steps correctly. So, pro-tip: Make sure to read the instructions very carefully.
Once both boards are done, it’s time to break out the wood chisel and mallet. With the chisel facing away from your body, use the chisel and mallet to break off any remaining wood. Make sure the wood is clamped to the table first, because this will make this part a whole lot easier. Repeat this step for the second board.
Once the remaining wood has been removed from both boards, spread glue onto both boards. Again, this step is easier when the board are clamped to the table.
Clamp the two edges of the boards together after applying the glue. Make sure the edges are flushed. Using the battery powered stapler and 1/2″ 18 gauge staples, I put five staples into each side. I use a hammer to tack in any staples that didn’t make it all the way through. Once the glue is dry, all that’s left is to clean up everything!
Now that we have our joints, let’s put them together.
First, arrange the miter joint and the half-lap joint so they make a 2′ x 2′ square. If the boards don’t line up perfectly, don’t worry too much about it right now. We’ll fix it later.
For now, decide which corner is closest to being square or at a 90 degree angle. I recommend using a speed square to help determine the angle. Use either a bar clamp or pipe clamp to squeeze these sides together and hold them in place.
Then, make a mark on both pieces that’s 1″ from the outside edge.
Grab a triangle brace and put some glue on the back of it. Then, place it on the lines made earlier so there’s roughly the same amount on each board. Next, use a power driver with a drill bit to pre drill seven holes through the triangle and into the board. Make sure you don’t drill all the way through the board.
Next, use a power driver with a counter sink bit. This will expand the holes so the screws will fit better.
Use an impact driver with a square head bit to insert 3/4″ square head screws into the pre-drilled and counter sunk holes. Make sure the triangle’s still at a 90 degree angle.
Next, pull the final angle into place so the edges are lined up and at a 90 degree angle. This step is going to require a partner to help you. Once lined up, place a bar or pipe clamp and clamp them in place.
Now, mark a line 1″ from the inside edge of each board. Place the flat corner iron on these lines and make two hole, one on each board.
Once I’m good with the placement, I mark where the holes should go with a pen. Remove the iron and use the power driver with a drill bit to pre-drill holes where I’ve marked. Then replace the iron and use an impact driver with a phillips head bit to insert 3/4″ phillips head screws into the holes.
Next, I use a circular saw to cut a piece of 1/8″ Masonite to 2′ x 2′. Once that’s done, I apply glue to the top of my flat bracing and then align my Masonite board with the bracing. Once that’s in place, use the battery powered stapler to attach the Masonite to the bracing. There should be four staples per side. Hammer any staples that didn’t go through all the way.
Finally, I use joint compound and a putty knife to smooth and fill out any holes in the board.


Leave a comment